Deprecated
EzyOauth2 has now been superseded by Goa, so this document is for legacy information. For more information see OAuth2 for Apps Script in a few lines of code. If you are using EzyOauth2, it’s easy to migrate. If you are starting up, consider using Goa instead – it’s easier and has more features.
In Drive JSON API for apps script I posted about an apps script library to help with the complexities of using the Drive SDK instead of the Apps Script DriveApp service.
It needs Oauth2.
Recently, the advanced Drive Service has been made available directly in Apps Script, although at the time of writing the docs are a little sketchy – they refer you to to Drive Web API which is what I’m using directly with the Drive JSON API for apps script.
In any case, unless you need some special scopes, you can fool Apps Script into getting an Auth token for you – in which case you don’t need to do any of this – but if you need tokens for other services not built in to Apps Script you may as well go ahead with this.
Here’s how you can get a token from apps script without needing to use EzyOauth2
- enable Drive in Advanced Services, and also in the cloud console.
- provoke an authentication dialog by including some function like this in your code that you never actually run.
function someDummyFunctionToProvokeAuth() {
 /// this is never run, it's just to provoke an auth dialog to get a properly scoped oauth token
 Drive.Files.copy();
}
- Use the access token you can get from your script when you get a handle for this library
var dapi = new cDriveJsonApi.DriveJsonApi().setAccessToken(ScriptApp.getOAuthToken());
And that’s all there is to it.
If you need different scopes
Then you have to pretend that your apps script is a regular web app and go through your own Oauth dialog and manage your own tokens as described below.
Here’s a recap of the tutorial on using EzyOauth2 – taking some pain out of Apps Script API authentication, which will take you though how to authenticate your app to use the drive json api.
Since there’s a good chance you’ll be creating an app that will not be running as a webapp, you’ll need to be able to refresh tokens automatically and work offline. The EzyOauth library takes care of all that but it needs an initial set up and some local code you may want to customize.
This will take you through each step from a completely new project, including all the stuff you have to do in the cloud console.
Step 1
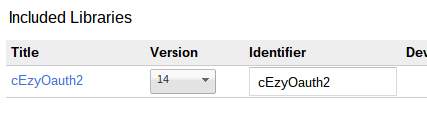
Include the library – you’ll get its details by clicking below (it uses the public library list.)
Step 2.
Copy the code below into a new module to your project – it doesn’t need any customization, unless you want to change the property store that it uses to store your authentication information. I didn’t put this in a library as I prefer to leave Properties manipulation in the hands of the script owner, but feel free to create your own from this.
/*
 * patterns you can reuse for writing apps needing oAuth2
 * just copy the whole thing to your project
 * for first time running seee oneTimeSet to load your credentials to your property store
 * you shouldn't need to modify any of this
 */

"use strict";
/**
 * gets the property key against which the authentication package will be stored
 * @param {string} optPackageName
 * @return {object} authentication package
 */
function getAuthenticationPackage_ (optPackageName) {
  var p = PropertiesService.getScriptProperties().getProperty(getPropertyKey_ (optPackageName));
  if (p) {
    p.packageName = optPackageName || '';
  }
  return p ? JSON.parse(p) : null;
}

/**
 * set your authentication package back to your property service
 * this will make the access token and refresh token available next time it runs
 * @param {object} authentication package to set
 * @return {void}
 */
function setAuthenticationPackage_ (package) {
  PropertiesService.getScriptProperties().setProperty(getPropertyKey_ (package.packageName), JSON.stringify(package));
}

/**
 * this will be the first call back, you now need to get the access token
 * @param {object} e arguments as setup by the statetokenbuilder
 * @param {function} theWork that will be called with the access token as an argumment
 * @return {*} the result of the call to func()
 */
function getAccessTokenCallback(e) {

  // this will fetch the access token
  var authenticationPackage = getAuthenticationPackage_ (e.parameter.package_name);
  var eo = new cEzyOauth2.EzyOauth2 (authenticationPackage).fetchAccessToken(e);

  if (!eo.isOk()) {
    //throw ('failed to get access token:'+eo.getAccessTokenResult().getContentText());
    return HtmlService.createHtmlOutput ( eo.getAccessTokenResult().getContentText() );
  }
  else {
    // should save the updated properties for next time
    setAuthenticationPackage_ (authenticationPackage);
    return e.parameter.work ? evalWork(e.parameter.work) : null;
  }

  function evalWork (func) {
    return eval (func +'("' +eo.getAccessToken() +'")');
  }
}

/**
 * gets called by doGet
 * @param {object} the doGet() parameters
 * @param {function} consentScreen - will be called with the consent Url as a an argument if required
 * @param {function} doSomething - the function that actually does your work
 * @param {function} optPackageName - optional package name to identify the oauth2 package to use
 * @return {*} whatever doSomething returns
 */
function doGetPattern(e, consentScreen, theWork,optPackageName, optArgs) {
  // set up authentication
  var packageName = optPackageName || '';
  var authenticationPackage = getAuthenticationPackage_ (packageName);
  if (!authenticationPackage) {
    throw "You need to set up your credentials one time";
  }

  var eo = new cEzyOauth2.EzyOauth2 ( authenticationPackage, "getAccessTokenCallback", undefined, {work:theWork.name,package_name:packageName} );

  // eo will have checked for an unexpired access code, or got a new one with a refresh code if it was possible, and we'll already have it
  if (eo.isOk()) {
    // should save the updated properties for next time
    setAuthenticationPackage_ (authenticationPackage);
    // good to do whatever we're here to do
    return theWork (eo.getAccessToken(),optArgs);
  }

  else {

    // start off the oauth2 dance - you'll want to pretty this up probably
      return HtmlService.createHtmlOutput ( consentScreen(eo.getUserConsentUrl(),eo.getRedirectUrl()) );
  }
}

/**
 * once you have done the one time doGet() process you can retrieve an access token like this
 * @return {string} an accessToken
 */
function getAccessToken(package) {
  return doGetPattern({} , constructConsentScreen, function (token) { return token; },package);
}
Step 3
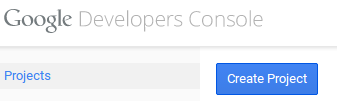
Now you need to set up your app in the Google Cloud Console. There’s a lot of stuff here, but it’s fairly straightforward nowadays.
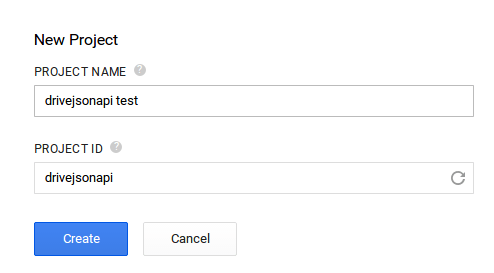
Name your project
Enable the Drive SDK (not the API)

Some services are enabled by default – you can disable all of them if you want

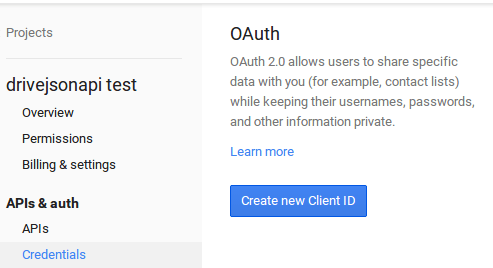
Create a new client ID
Create a web application
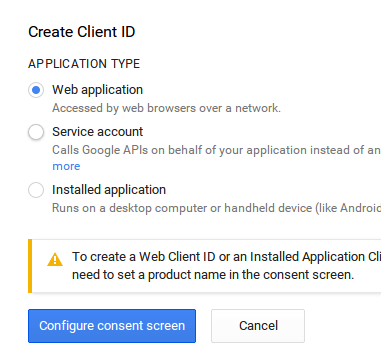
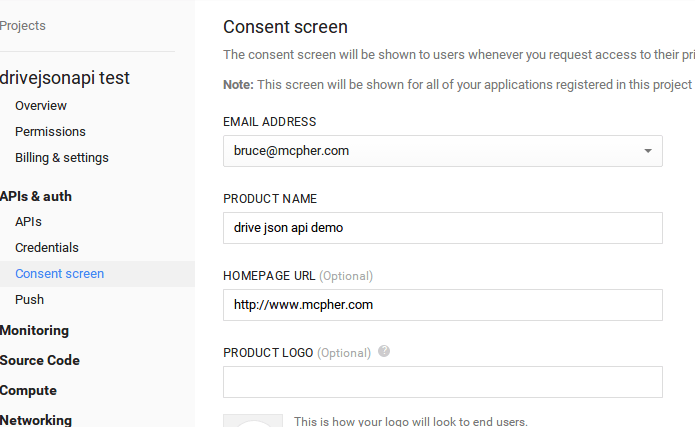
Configure your consent screen
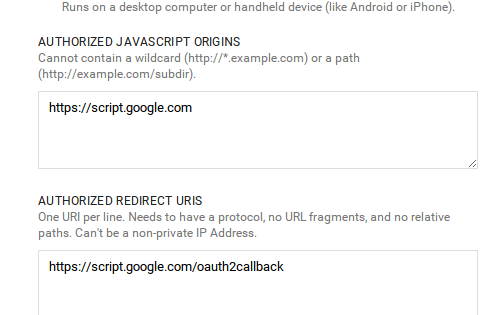
Change the Authorized JavaScript origins (we’ll do the redirect URI later)
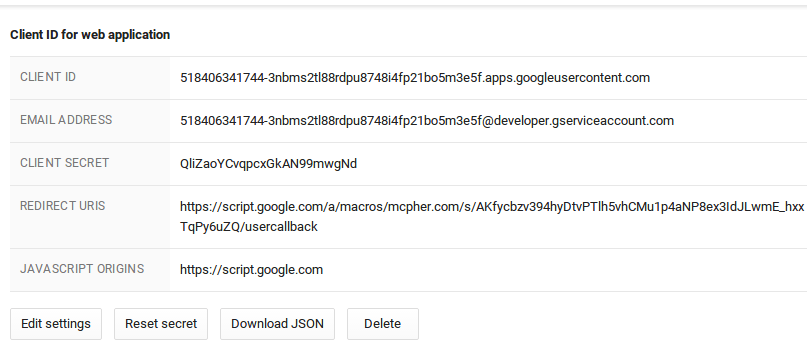
Take note of your new credentials (note – the ones below are invalid – you need to use your own). Don’t exit this screen yet. We”ll come back later and deal with the redirect URI.

Step 4.
Now create this function, set your own client ID and client secret, and run it. I’ll refer to this credential package from now on as ‘drive’, but you can call it what you like with the packageName property.
Don’t change any of the other stuff. A good idea might be to make it match whatever you called your project in the cloud console. You only need to run this once. It will write these details to your chosen property store, and you can delete this function.
function oneTimeSetProperties () {
  setAuthenticationPackage_ ({
    clientId : "518406xxxxx5f.apps.googleusercontent.com",
    clientSecret : "QliZacxxxxxxwgNd",
    scopes : [
      'https://www.googleapis.com/auth/drive',
      'https://www.googleapis.com/auth/drive.scripts'
    ],
    service: 'google',
    packageName: 'drive'
  });
Step 5.
Even if you may be using this not as a webapp, you still need to do that once in order to allow the cloud console to recognize it and provoke an authorization dialogue. So copy this code into a new module. You don’t need to change it unless you’ve changed the package name.
"use strict";
/**
* this is your web app
* @param {object} webapp param object
* return {HtmlOutput}
*/
function doGet (e) {
// pattern for drive sdk
return doGetPattern(e, constructConsentScreen, doSomething, 'drive') ;
}
/**
* tailor your consent screen with an html template
* @param {string} consentUrl the url to click to provide user consent
* @param {string} redirectUrl the url that redirect will happen on
* @return {string} the html for the consent screen
*/
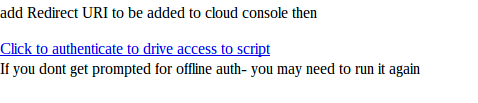
function constructConsentScreen (consentUrl,redirectUrl) {
return '<p>Redirect URI to be added to cloud console is ' +
redirectUrl +
'</p><a href = "' +
consentUrl +
'">Click to authenticate to drive access to script</a> ' +
'<br>If you dont get prompted for offline auth- you may need to run it again';
}
/**
* this is your main processing - will be called with your access token
* @param {string} accessToken - the accessToken
*/
function doSomething (accessToken) {
var options = {
method: "GET",
headers: {
authorization: "Bearer " + accessToken
}
};
return HtmlService.createHtmlOutput (' it worked');
}
/**
* gets the property key against which you want the authentication package stored
* @param {string} optPackageName
* @return {string}
*/
function getPropertyKey_ (optPackageName) {
return "EzyOauth2" + (optPackageName ? '_' + optPackageName : 'Auth');
}
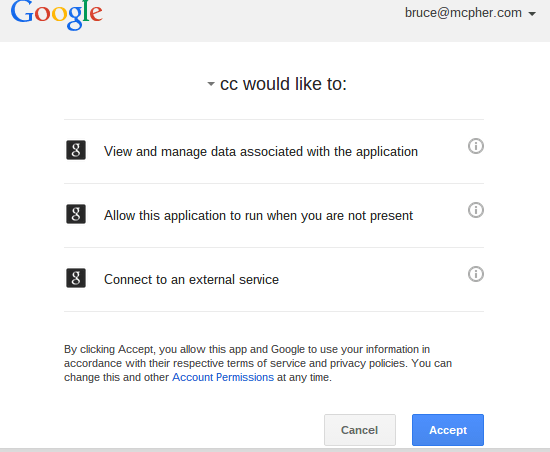
Run doGet() to get permission for the things it will need to do as a webapp. You should get a dialog like this
Now save a version, and publish as a web app and run. You’ll get the dialog from your constructscreen function
Before clicking to authenticate, copy the published URI and head back to the cloud console and replace the redirect URI with the published URI (but replace /exec by /usercallback)
Step 6
You can now get an access token anytime you want using getAccessToken(“drive”). To use this with Drive JSON API for apps script you would get a handle like this
var dapi = new cDriveJsonApi.DriveJsonApi(getAccessToken("drive"));
Take a look at EzyOauth2 – taking some pain out of Apps Script API authentication and EzyOauth2 patterns for more on this
For help and more information join our community, follow the blog or follow me on Twitter