I recommend that you save your commands in various scripts so you can repeat them or modify them later.
In this series of articles – we’re going to get memcache going – This will help to speed up the API as we can avoid doing SQL execution by getting it from cache instead (which is super fast inside the same Kubernetes cluster) and we’ll expose it so it can be accessed fro elsewhere too.
Best to use the cloud console for this, as you’ll get a free Cloud shell with everything already installed, so start things off by going there and enabling billing for your project. See also
Creating the cluster
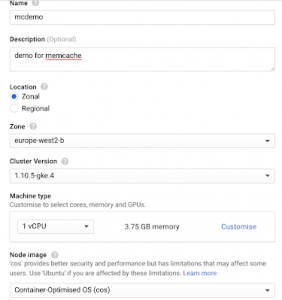
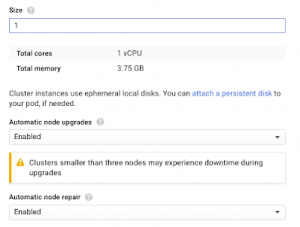
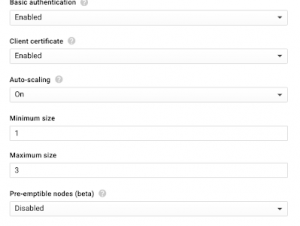
You can do this using the Cloud console UI. Here are the options I’ve chosen

Since it’s only for a demo, I chose a small machine type and started with 1 node.

However, I’ve made it autoscale up to 3 nodes.

At this point, it’s handy to capture the CLI command line to a file so you can easily recreate the same cluster later.
which gives this

Finally, you get you’re cluster up and running.

Setting context
You need to authorize the cloud shell and point to the correct default cluster (you could be running many different clusters).
-
- Get the credentials for the given cluster
gcloud container clusters get-credentials mcdemo --zone europe-west2-b
-
- Check the context is now pointing at the correct cluster
kubectl config get-contexts
you should get a list of clusters with an asterisk beside the default one
CURRENT NAME                               CLUSTER                            AUTHINFO NAMESPACE
*      gke_fid-prod_europe-west2-b_mcdemo gke_fid-prod_europe-west2-b_mcdemo gke_fid-prod_europe-west2-b_mcdemo
-
- Check the nodes running in your default namespace
kubectl get nodes
NAME                                  STATUS ROLES AGE VERSION
gke-mcdemo-default-pool-658ec983-rzhc Ready  10m v1.10.5-gke.4
Next step
Installing Helm, Tiller and run up memcache. – Installing memcache with Kubernetes
